
How to Create AI Images from Text (Beginner’s Step-by-Step Guide)
Published · Updated
Imagine turning a simple sentence into a realistic photograph, a colorful illustration, or a professional-looking image for your website. You do not need an expensive camera, advanced drawing skills,…
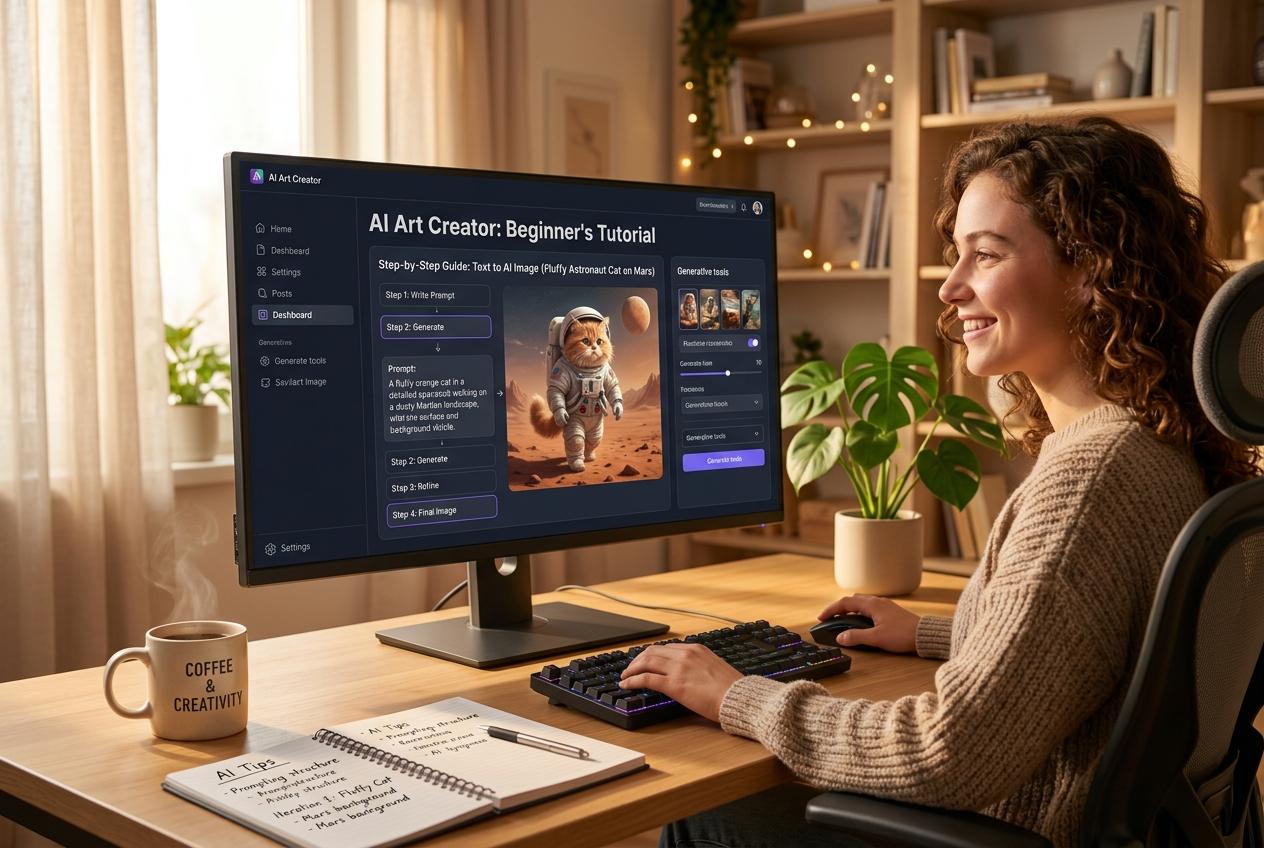
Imagine turning a simple sentence into a realistic photograph, a colorful illustration, or a professional-looking image for your website. You do not need an expensive camera, advanced drawing skills, or years of graphic design experience. With an AI image generator, you can start with words and create a visual in just a few steps.
This process is known as text-to-image AI generation. You describe what you want to see, and an artificial intelligence model creates an image based on your instructions. Depending on the tool, you can also edit existing pictures, change backgrounds, explore artistic styles, and generate images for social media, blogs, presentations, and marketing campaigns.
In 2026, AI image creation is becoming a practical part of everyday digital work. Bloggers use it for featured images, businesses experiment with product visuals, and content creators use AI-generated artwork to bring their ideas to life.
The challenge for beginners is knowing which tool to choose and how to write an effective prompt.
This guide explains how to create AI images from text step by step, with practical examples, copy-ready prompts, useful tools, and tips for getting better results without unnecessary expense.
What Is a Text-to-Image AI Generator?
A text-to-image AI generator is a tool that converts written descriptions into visual content. You might enter a prompt such as:
"Create a realistic photograph of a small coffee shop on a rainy evening, warm lights glowing through the windows, reflections on the wet street, cinematic photography."
The AI interprets the description and generates an image that attempts to match the requested subject, setting, and style.
Depending on the platform, you can create:
Realistic AI-generated photographs
Digital art and illustrations
Anime and cartoon images
Product photography concepts
Website banners and blog featured images
Posters and social media graphics
Fantasy landscapes and character concepts
Images based on existing photographs or reference images
Many tools also support AI image editing, which lets you describe changes to an existing picture rather than starting from scratch.
The quality of the result depends on the model, your prompt, and the tool's available controls. A clear description usually gives you a better starting point than a vague request.
Step 1: Choose an AI Image Generator
Your first step is selecting a tool that suits your project, budget, and experience level. You do not need to sign up for several paid subscriptions just to get started.
Here are five options worth exploring.
1. ChatGPT Images
ChatGPT Images lets you generate images through natural-language instructions. You can describe your idea, review the result, and ask for specific changes in the same conversation.
It is useful for illustrations, blog images, creative concepts, and image editing.
Website: https://chatgpt.com/
2. Google Gemini
Google Gemini supports image generation and editing through conversational prompts. You can describe a scene, explore different visual styles, and refine generated images with additional instructions.
It is a convenient option for beginners who want to experiment with text-to-image AI.
Website: https://gemini.google.com/
3. Adobe Firefly
Adobe Firefly offers text-to-image generation and other creative editing features. It can be useful for marketing visuals, promotional concepts, and design work.
Website: https://firefly.adobe.com/
4. Microsoft Designer
Microsoft Designer provides AI-assisted creative tools for supported image and design workflows. It is worth exploring if you want to create visuals for everyday projects.
Website: https://designer.microsoft.com/
5. Canva AI
Canva AI is useful when you want to turn an image into a complete design, such as an Instagram post, presentation, or marketing banner.
Website: https://www.canva.com/
Free access and usage limits vary by provider, account, region, and feature. Check the current terms before choosing a tool for regular or commercial work.
Step 2: Decide What You Want to Create
Before writing your prompt, identify the purpose of the image. This small step can make the entire process easier.
Ask yourself three questions:
What is the main subject?
Where will the image be used?
What visual style do I want?
For example, if you are writing a blog article about cybersecurity, you might need a modern illustration of a laptop with a digital shield. If you run an online store, you may want a clean product image with a plain background.
Your goal affects the way you describe the image.
Purpose | Useful Visual Direction |
|---|---|
Blog featured image | Wide composition with a clear subject |
Instagram post | Square composition with strong visual contrast |
YouTube thumbnail | Landscape layout with space for a headline |
Product image | Clean background and clear product details |
Website hero banner | Wide image with empty space for website text |
Educational illustration | Simple composition that explains an idea |
For website banners, leave enough negative space for the page headline. For product images, keep the product prominent and the background uncluttered.
Step 3: Write a Clear AI Image Prompt
The prompt is the written instruction you give to the AI image generator. It tells the model what to create and helps guide the final appearance.
A useful prompt generally includes five elements:
Subject: What should appear in the image?
Setting: Where is the subject?
Style: Should it look like a photograph, painting, illustration, or 3D render?
Lighting and colors: What mood and visual atmosphere do you want?
Composition: How should the subject be positioned?
You do not need to include every detail in every prompt. Start with the elements that matter most.
Example: A weak prompt
"Make a picture of a cat."
This gives the AI very little information. It may generate a cat, but you have not specified the setting, style, lighting, or composition.
Example: A stronger prompt
"Create a realistic photograph of an orange cat sitting beside a sunny window in a cozy living room. Soft morning light, warm neutral colors, natural fur texture, shallow depth of field, and a calm atmosphere. Keep the cat as the main subject."
The second prompt provides a clearer creative direction.
Copy-ready AI image prompt template
Use this template to start creating your own prompts:
"Create a [type of image] showing [main subject] in [setting]. Use [visual style], [lighting], and [color palette]. Position the subject [composition details]. The image is intended for [purpose]. Keep the result [important constraints]."
For example:
"Create a professional digital illustration showing a laptop protected by a glowing shield in a modern workspace. Use a clean technology-inspired style, soft blue lighting, and a navy-and-white color palette. Keep the main subject centered, with empty space on the left for a website headline. The image is intended for a cybersecurity blog banner."
This approach works well for many AI image generation tools because it communicates the idea in plain language.
Step 4: Choose an Image Style and Format
Once you understand how to write a prompt, experiment with different visual styles. The same idea can produce very different results depending on the style you request.
For example, a prompt describing a mountain landscape could produce a realistic photograph, a watercolor painting, a 3D illustration, or a fantasy scene.
Here are some useful style keywords to try:
Photorealistic: For images that resemble real photographs.
Digital illustration: For clean, digitally created artwork.
Watercolor painting: For soft colors and painted textures.
3D render: For polished, three-dimensional visuals.
Minimalist: For simple designs with few distracting elements.
Cinematic: For dramatic lighting and a movie-like atmosphere.
Isometric illustration: For structured, angled views of objects, rooms, or systems.
You should also think about the image's aspect ratio. A square image may work well for a social media post, while a wide image is often more appropriate for a website banner.
If the tool offers image-size or aspect-ratio controls, choose the format that fits your destination. Otherwise, mention the desired composition in your prompt and crop the image later if needed.
Step 5: Generate Your First AI Image
Now you are ready to create your first image.
The exact interface differs by platform, but the general process is straightforward:
Open your chosen AI image generator.
Sign in if the service requires an account.
Find the image-generation feature.
Enter your text prompt.
Choose any available style, size, or other settings.
Generate the image and wait for the result.
For example, you could use this prompt to create a blog illustration:
"Create a modern digital illustration of a person working on a laptop in a bright home office. Soft daylight, natural colors, a clean desk, a small green plant, and a professional editorial style. Use a wide landscape composition suitable for a productivity blog."
When the image appears, examine it carefully. Does it match your idea? Is the subject clear? Are the colors appropriate? Is there enough space for text if you need it?
Your first result does not have to be perfect. Think of it as a starting point.
Step 6: Improve the Image With Follow-Up Instructions
One of the most useful features of modern AI image generators is the ability to refine an image through additional instructions.
Instead of starting again every time something looks wrong, identify the specific change you want.
For example:
"Make the background lighter."
"Keep the subject the same, but simplify the background."
"Change the image to a warm, natural color palette."
"Move the main subject toward the right side."
"Make the image more realistic and reduce the cartoon-like appearance."
"Keep the composition unchanged and add more empty space above the subject."
Specific instructions make it easier to communicate your expectations. If you want to preserve most of the image, say so clearly.
For instance:
"Keep the laptop, desk, and camera angle unchanged. Only change the background to a clean, light-blue office environment."
AI editing is not always perfectly precise, and a change may affect parts of the image you intended to preserve. Review each revision and try a more targeted instruction if necessary.
Step 7: Use Reference Images When Helpful
Some AI image tools allow you to upload a reference image and use it to guide generation or editing.
A reference image can communicate visual details that are difficult to describe in words, such as a product's appearance, a particular composition, or a preferred color palette.
For example, you might upload a photograph of a product and request a new background while keeping the product's overall appearance consistent.
You could write:
"Use the uploaded photograph as the product reference. Keep the product's shape, colors, and proportions consistent. Replace the background with a bright, minimalist studio setting and use soft commercial product photography lighting."
Reference-image support differs by tool. Always review the result for unwanted changes, particularly when accurate product representation is important.
Also, make sure you have permission to upload and use photographs of other people, private material, or copyrighted content.
Step 8: Download and Prepare the Final Image
Once you are satisfied with the result, save the image using the tool's download or export option.
Before using it on your website, check the following:
Is the image sharp enough for its intended size?
Does it have the correct aspect ratio?
Are there any strange details or visual mistakes?
Is any text spelled correctly?
Does the image fit your website's design?
Are you permitted to use it for your intended purpose?
For website publishing, use a suitable image format and optimize the file size. WebP can be a good option where supported, while PNG may be useful when transparency is required. Keep a high-quality original in case you need to edit or export it again.
Give the image a descriptive filename, such as ai-image-generation-cybersecurity-banner.webp, and write meaningful alt text that describes the actual image. Compress the image without making it visibly blurry.
These small steps can help improve page performance and accessibility.
10 Ready-to-Use AI Image Prompts for Beginners
If you are unsure what to write, try these examples and adapt them to your project.
1. Blog featured image
"Create a professional editorial illustration about artificial intelligence and digital creativity. Show a laptop displaying colorful generated artwork, a clean workspace, soft lighting, and a modern blue-and-purple color palette. Use a wide composition suitable for a technology blog."
2. Product photography
"Create a realistic studio photograph of a reusable water bottle on a clean white surface. Use soft commercial lighting, subtle shadows, a neutral background, and sharp product details. Keep the composition simple and professional."
3. Social media graphic
"Create a vibrant square social media graphic about healthy morning habits. Show a notebook, a cup of tea, and sunlight on a tidy desk. Use warm colors, balanced composition, and empty space at the top for a headline."
4. Fantasy artwork
"Create a fantasy landscape featuring a magnificent castle on a mountain above the clouds. Add dramatic sunrise lighting, misty valleys, intricate architecture, and a cinematic digital painting style."
5. Website hero banner
"Create a wide, minimalist technology illustration showing abstract digital connections and glowing geometric shapes. Use a dark navy background with subtle blue highlights. Keep the right side visually interesting and leave generous empty space on the left for website text."
6. Educational illustration
"Create a clean educational illustration explaining online password security. Show a laptop, a secure padlock, and a shield symbol. Use simple shapes, clear visual hierarchy, and a professional technology-inspired style."
7. Food photography
"Create a realistic photograph of a freshly baked chocolate cake on a ceramic plate. Use soft natural window light, a warm kitchen background, rich chocolate textures, and a close-up food photography composition."
8. Nature photography
"Create a photorealistic landscape of a peaceful lake surrounded by green mountains at sunrise. Include gentle mist, reflections on the water, soft golden light, and natural colors."
9. Children's illustration
"Create a friendly children's book illustration of a small fox exploring a colorful forest. Use soft shapes, warm colors, expressive characters, and a gentle storybook art style."
10. Professional business concept
"Create a modern editorial illustration representing remote work and productivity. Show a professional working at a laptop in a comfortable home office, with a notebook and a plant. Use natural lighting, a balanced composition, and a clean corporate design style."
You can reuse these prompts with different subjects, styles, and color palettes. Treat them as starting points rather than guaranteed recipes: different models may interpret the same instructions differently.
Common Mistakes to Avoid When Creating AI Images
Beginners often assume that a longer prompt will always produce a better image. In reality, clarity and relevant details matter more than unnecessary wording.
Avoid these common mistakes:
Being too vague. A prompt such as "make something beautiful" leaves too many decisions to the AI. Describe the subject and intended result.
Adding too many conflicting instructions. Asking for a minimalist image with dozens of objects can confuse the desired composition. Prioritize the most important details.
Ignoring the intended format. A square image may not work well as a wide website banner. Choose the right dimensions or plan to crop the image.
Expecting perfect text. Although some modern models can generate readable text, spelling, letter shapes, and layout can still be imperfect. Proofread the result and use a design editor for final typography when necessary.
Accepting the first result without reviewing it. Check important details, especially in product images, educational graphics, and professional content.
Ignoring usage rights. A free generator does not automatically provide unrestricted commercial rights. Review the relevant terms before using an image in advertising, on a monetized website, or for a client.
Frequently Asked Questions
Can I create AI images from text for free?
Yes. Several AI image generators provide free access, although they may limit the number of generations, available models, editing tools, or download options. Check the current terms of each platform.
What is the best AI image generator for beginners?
ChatGPT Images and Google Gemini are convenient starting points for conversational image creation. Canva AI is useful when you also want to design social media graphics or other finished layouts.
How do I write a good AI image prompt?
Describe the main subject, setting, visual style, lighting, and composition. Explain the intended use of the image and mention any details that must remain unchanged.
Can I create realistic photos using text-to-image AI?
Yes. Many tools can generate realistic-looking scenes, product concepts, and portraits. However, the result may contain inaccuracies, so inspect the image before using it to represent a real product, person, or event.
Can I use AI-generated images on my website?
Often, yes, subject to the tool's terms and any applicable legal restrictions. Check commercial-use conditions, image licenses, and any requirements relating to trademarks, privacy, or recognizable individuals.
Do I need coding skills to generate AI images?
No. Most beginner-friendly AI image generators work through a simple interface where you enter a text prompt and select available settings.
Final Thoughts
Learning how to create AI images from text is easier when you approach the process one step at a time. Choose a suitable tool, decide what you want to create, write a clear prompt, generate the image, and refine it with specific instructions.
You do not need to master every AI feature at once. Start with a simple idea, experiment with different styles, and gradually improve your prompts as you learn what works.
For beginners, the most important skill is not writing the longest possible prompt. It is communicating a clear visual idea and knowing how to improve the result.
Whether you are creating blog images, digital art, product visuals, or social media graphics, text-to-image AI can help turn your ideas into useful visual content. With practice and careful review, you can build a workflow that saves time, supports creativity, and fits your budget.
Tool features, free usage limits, and licensing terms may change. Check the official provider documentation before relying on specific capabilities.
Never type a real password into a web page. That includes this one. Our tools analyse and generate passwords entirely in your browser and never transmit them — see the about page for how that is implemented.